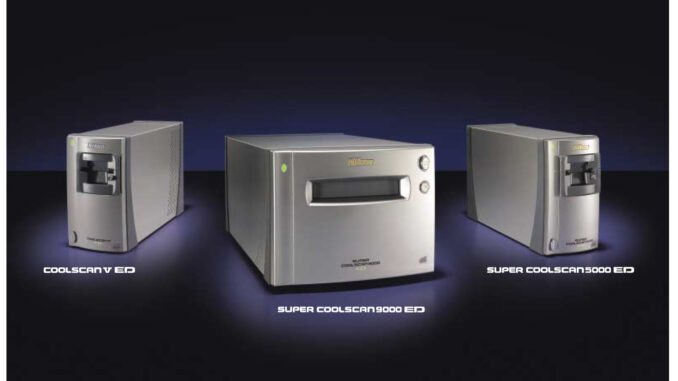
Based on instructions and files located in various forums and websites, I have compiled them all here into one updated INF driver file for Nikon Super Coolscan film scanners for Windows 7/8/10/11 64-bit:
Here are the updated instructions:
- Note: If you have an LS-4000 you will need to ensure it has the latest firmware V1.10 in order to run Nikon Scan 4.0.3. You will need Nikon Scan 3.1.2 and a Windows XP machine to do this. You may be able to run “XP Mode” (a virtual XP machine) inside Windows 7.
- Run Windows XP
- Download and Install Nikon Scan 3.1.2.
- Download and extract the LS-4000 Firmware Updater.
- Follow instructions in the PFD in the ZIP file.
- Run the SUPERCOOLSCAN4000ED_110.exe file.
Now, let’s get your scanner working in Windows 7, 8, 10, or 11:
- Remove Vuescan if installed. You can re-install it after these procedures.
- Download the Nikon Scan 4.0.3 scan software for Windows Vista 32-bit.
- Install Nikon Scan 4.0.3.
- Download the modified scanner driver here – NikonFiles_v1-5.zip
- Extract and save the NikonFiles folder to
C:\Program Files (x86)\Nikon\NkScan4\
The NKScan4 folder now contains the NikonFiles folder and will look like this…
C:\Program Files (x86)\Nikon\NkScan4\NikonFiles\ - Windows 7: skip to step 8.
- If you’re running Windows 8/10, you’ll need to temporarily disable the driver signature enforcement policy (option 1) prior to next steps or the scanners_v1-5.inf driver will not install.
- Press and hold the Shift key on your keyboard and click the Restart button.
- Choose Troubleshoot > Advanced options > Startup Settings and click the Restart button.
- When your computer restarts you’ll see a list of options. Press F7 on your keyboard to select Disable driver signature enforcement.
- Your computer will now restart and you’ll be able to install unsigned drivers.
- Power up the scanner and connect the Firewire or USB cable to the computer.
- Cancel any dialogue boxes looking for drivers if they appear.
- Go to Control Panel > System > Device Manager and look for the “Unknown Device” (your scanner) with the yellow triangle.
- Right click on it and choose “Update Driver Software” then choose “Browse my computer for driver software”
- Click “Browse” and find the folder
C:\Program Files (x86)\Nikon\NkScan4\NikonFilesand click “Next”. - That’s it – Your Nikon Scan software should now be fully functional.

Leave a Reply
You must be logged in to post a comment.